Puppeteer on Windows
Table of Content
Launch Puppeteer on Windows
Connect to your VM
Run our sample code and develop your own scripts
Troubleshooting
We are currently experiencing a delay in provisioning the instance. It may take up to 20 minutes for the instance to become ready for RDP connections and the initial configuration after the first login.
Launch Puppeteer on Windows
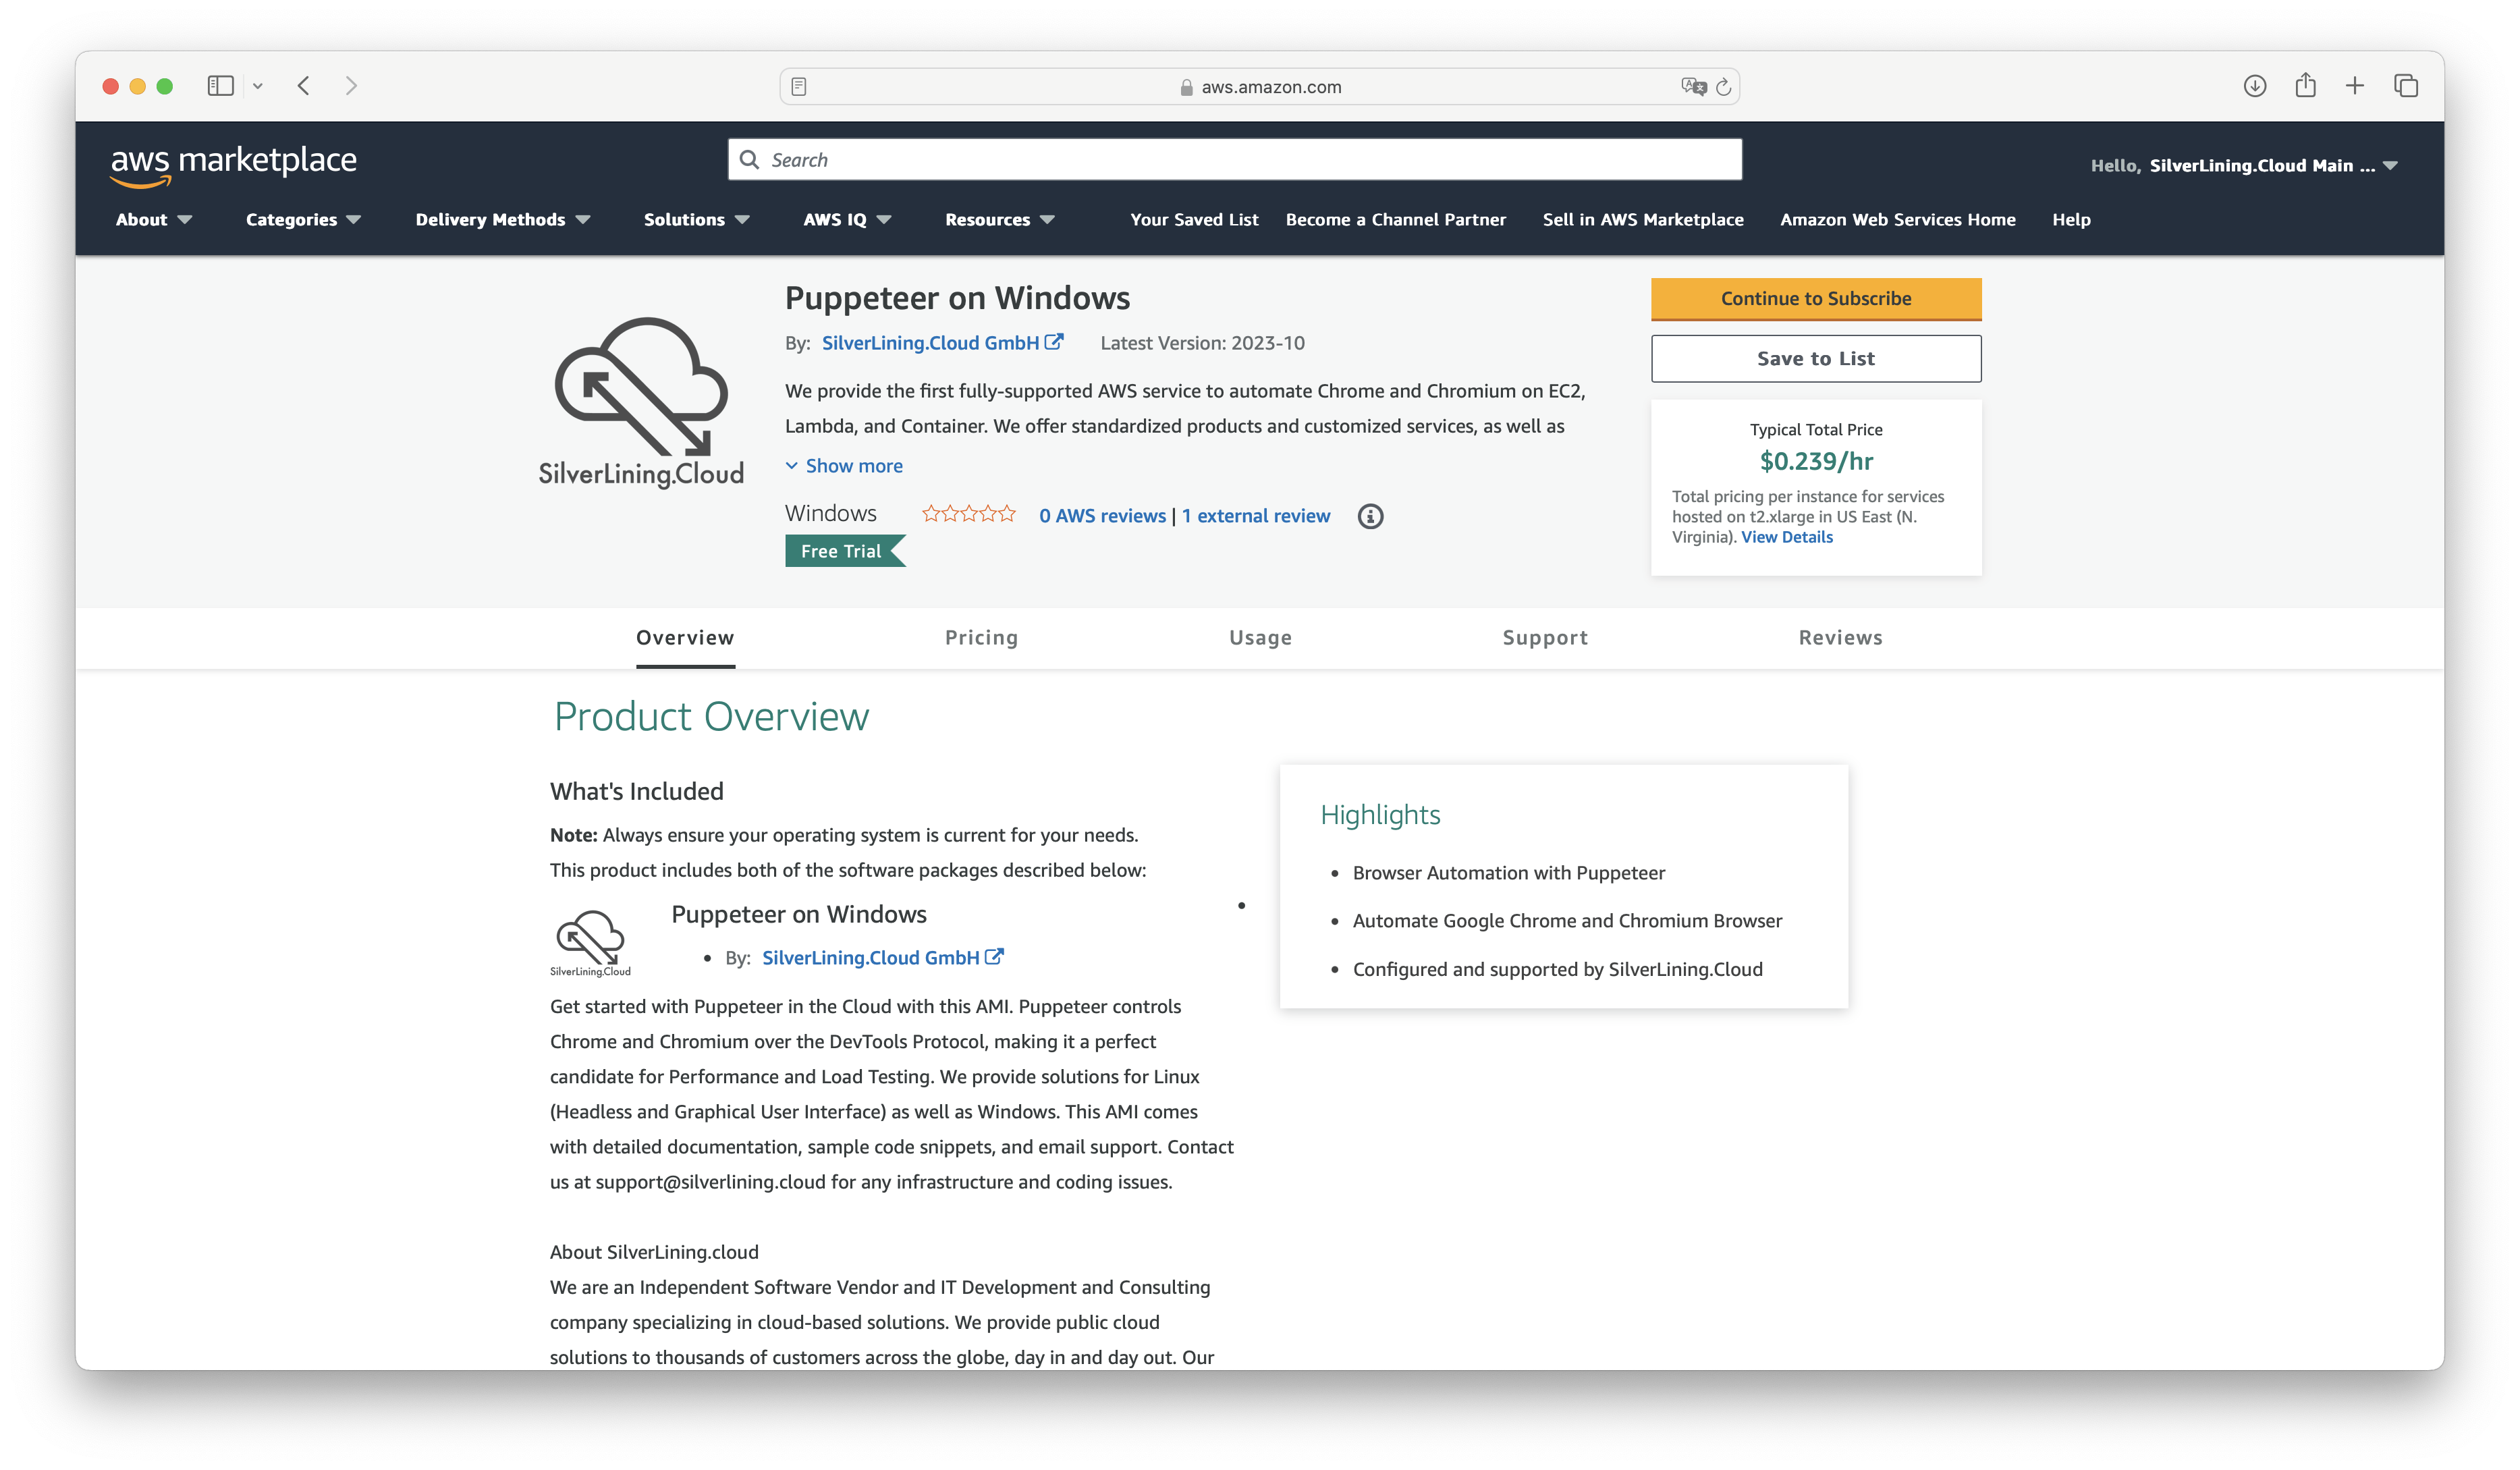
Navigate to our listing page on the AWS Marketplace and click 'Continue to Subscribe'.

On the subsequent page, review and accept our terms by selecting 'Accept Terms'.
Once the subscription process is complete, select 'Continue to Configuration'.
Choose the region where you wish to deploy the virtual machine, then click 'Continue to Launch'.
On the final page, select the instance type you wish to use (the recommended instance type is pre-selected) and review the other launch options. Then, click 'Launch'.
After launching, you can view your instance in the EC2 Management Console.
Connect to your instance via RDP
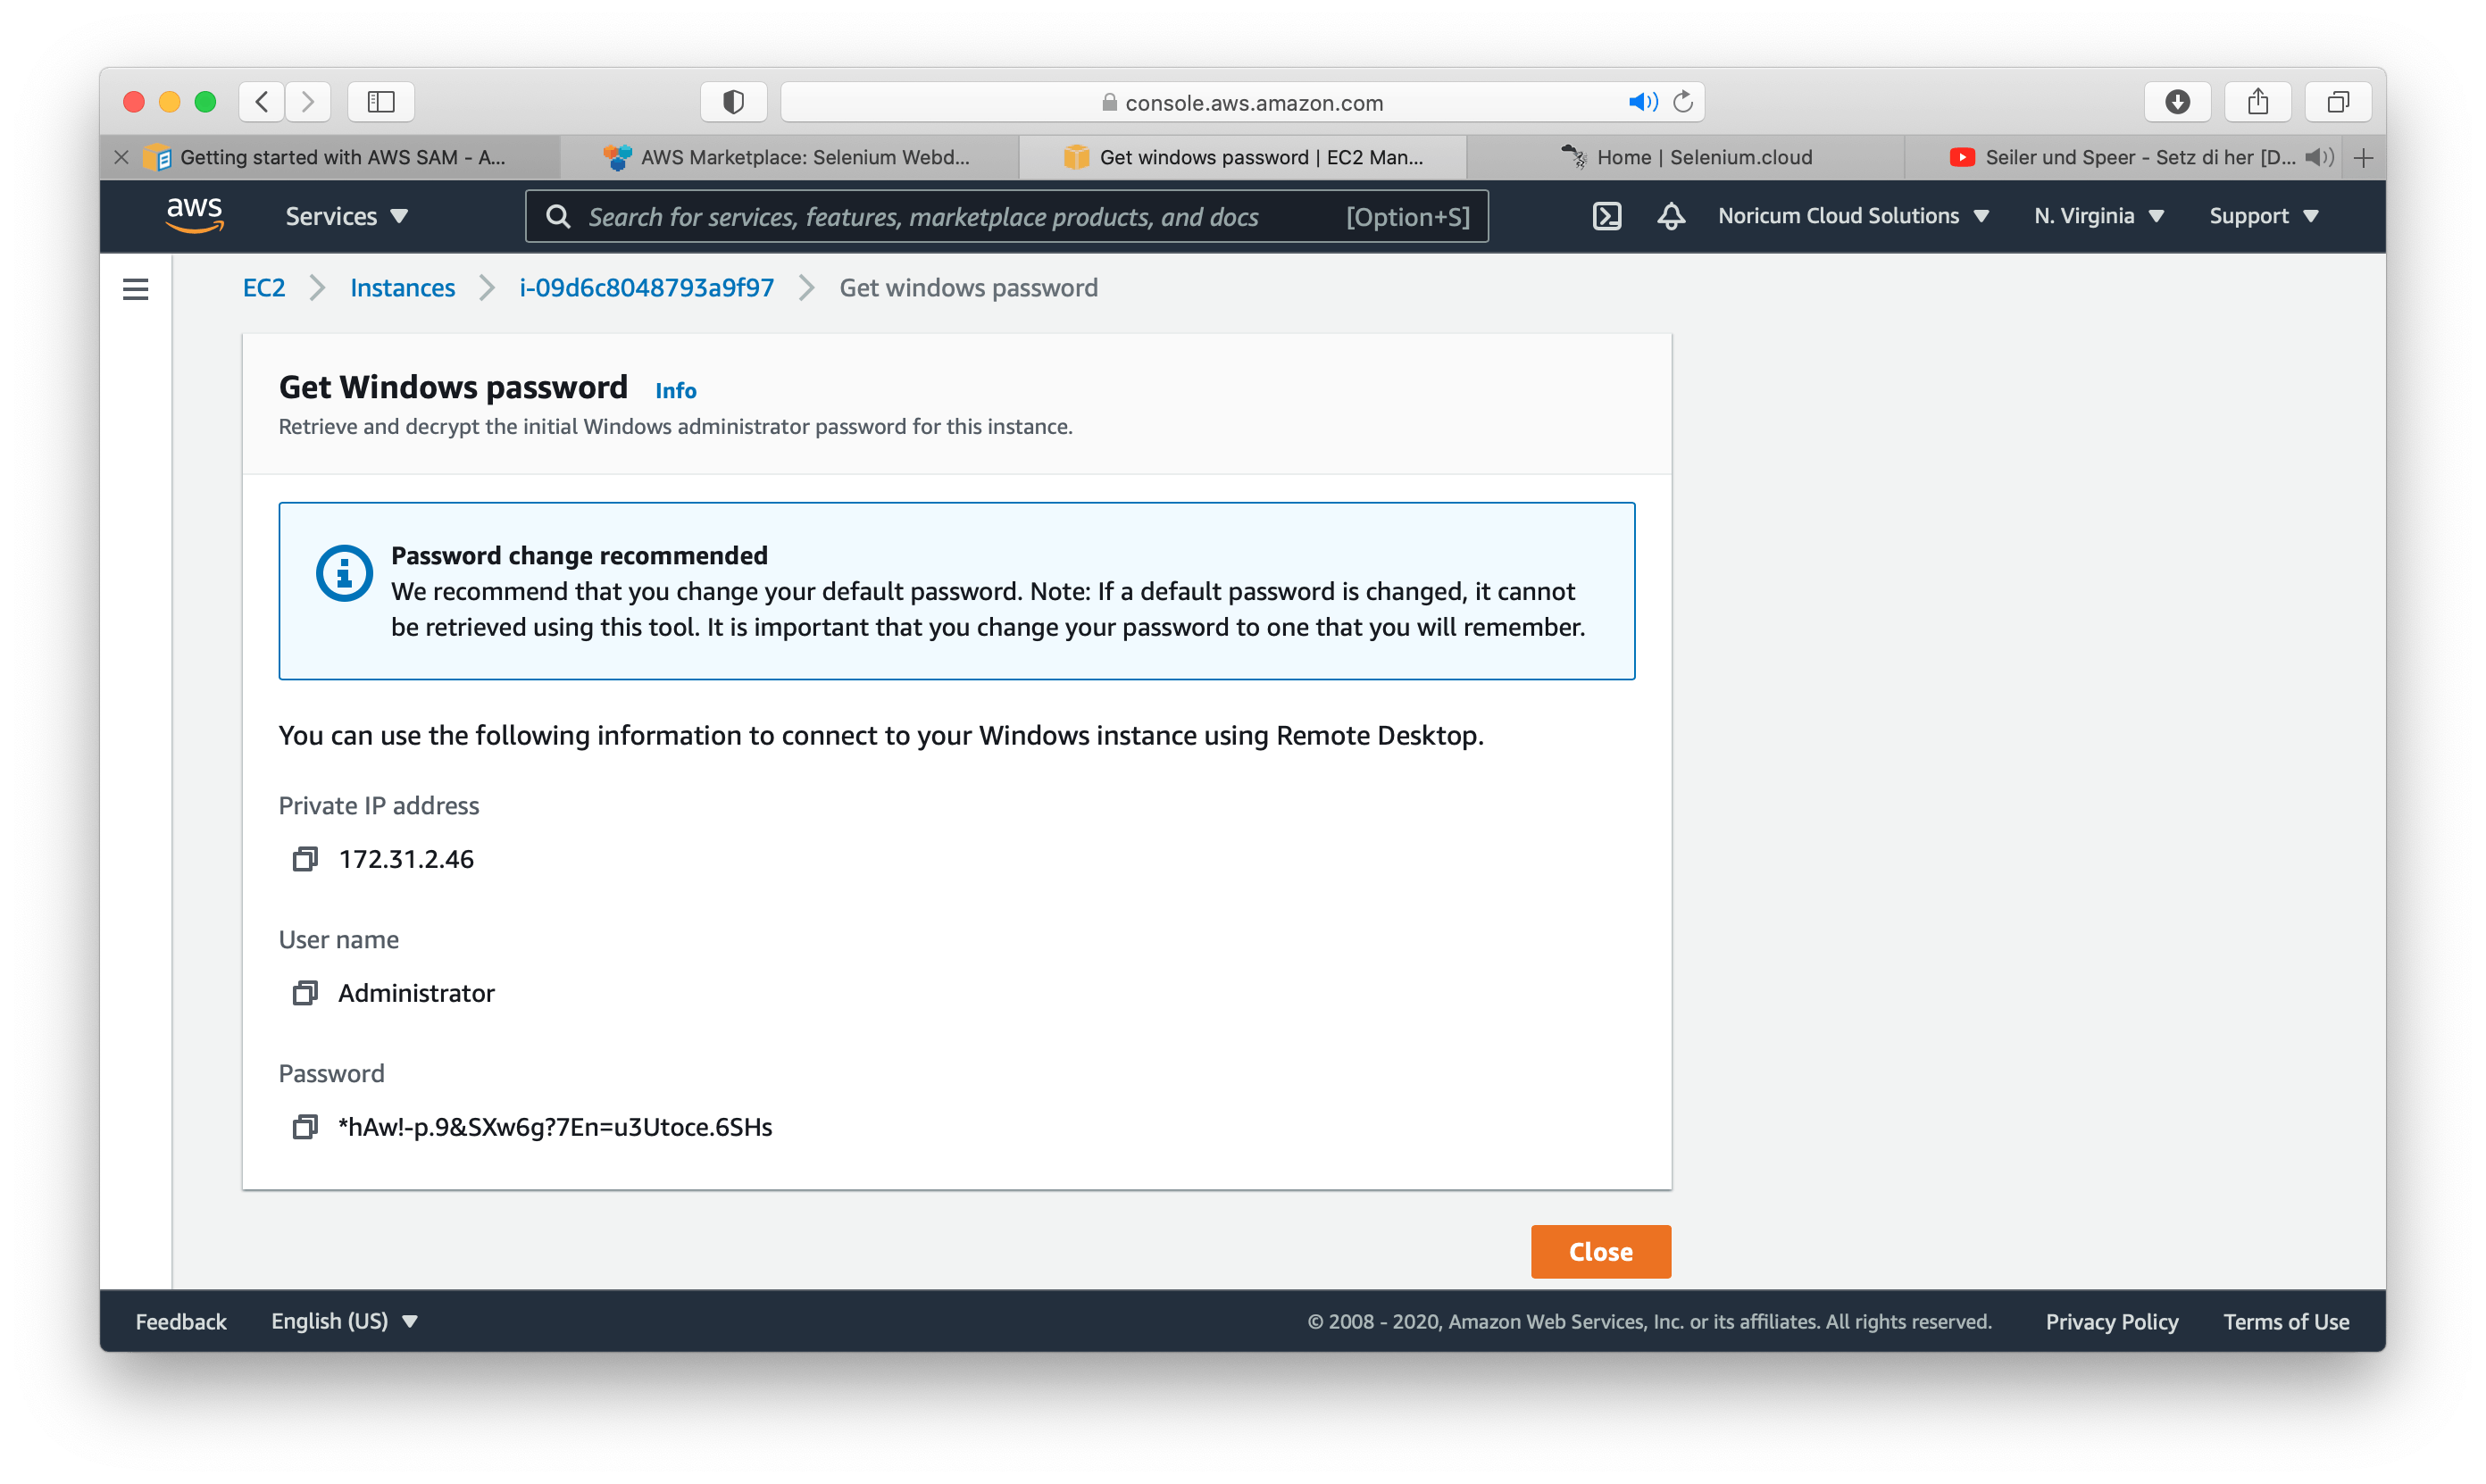
Get the Windows password of your instance in the EC2 Management Console (make sure to be in the correct AWS region) by selecting your instance -> Actions -> Security -> Get Windows Password. It can take up to 30 minutes until the Windows password gets available in the AWS console.
Browse for your the key file you specified when you launched the instance.
Click on 'Decrypt Password' and save the password. The user name for the virtual machine is 'Administrator'.

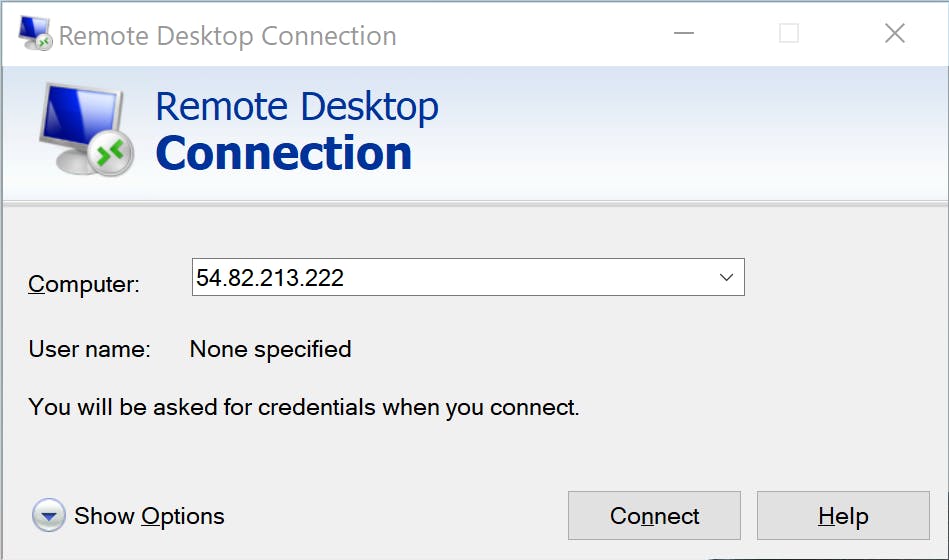
Open 'Remote Desktop Connection' and connect using the public IP address of your virtual machine.

When prompted, enter 'Administrator' as the username and the password you obtained from the EC2 console (refer to the step above).
Run our sample code and develop your own scripts
Connect to the instance via RDP and log in as the 'Administrator' user.
Start Visual Studio Code and select the 'script.js' file.
To execute the script, select 'Run' in the menu and click 'Start Debugging'. If prompted, select 'NodeJS'.

Note: The first execution after startup is typically very slow, especially on instances with low memory. There is a chance the browser might run out of memory. Performance should improve over time, but consider using an instance with more available memory.
Troubleshooting
Resolving Copy & Paste Issues
You may experience issues with copying and pasting to and from the virtual machine. Ensure that your local RDP client supports clipboard sharing. If the keyboard shortcuts for copy and paste do not work, try using right-click to copy or right-click to paste.
How can I cancel my subscription?
To cancel your subscription, follow these steps:
- Go to the AWS Marketplace Console at https://aws.amazon.com/marketplace/library. Ensure that you are logged into the account that is subscribed to the product you want to cancel.
- Find the product you want to cancel and click on 'Manage.'
- Click on 'Actions' and then select 'Cancel subscription.'
For more detailed instructions, visit the AWS Marketplace Buyer Guide at https://docs.aws.amazon.com/marketplace/latest/buyerguide/cancel-subscription.html.